In the last post we saw how to install Ubuntu 20.04 in “Text Mode”, but it was more server specific and the installation was more or less text based.
Today we will do GUI installation of a Linux Desktop.
The Distribution that we are going to use is Elementary OS 6.0 also known as ODIN.
We are going to install this as a virtual system but you can install this on your desktop or laptop if the hardware requirements permit by all means.
So let’s start, First Download the Elementary OS 6 ISO from its official web-site “https://elementary.io“.
Once the image is downloaded follow the steps given in the website and burn it on a pendrive using etcher.
Next plug in the pendrive on the system you want to install the OS on and boot it from pendrive.
- When the system first boots from pendrive it gives you couple of options as below:
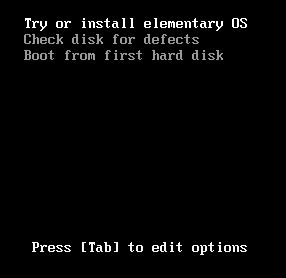
Here you may select to “try or install” or “check disk for defects” or “boot from HDD“.
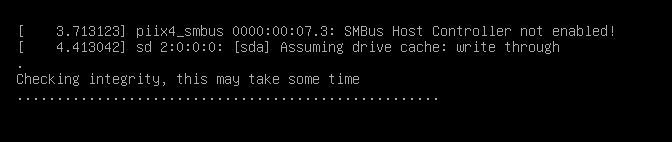
We will select “try or install” option. - Next it check’s the disk for issues and does an integrity check:
- Once the Integrity check is done it boots up and starts with the selection screens, the first is the “Language Settings”:
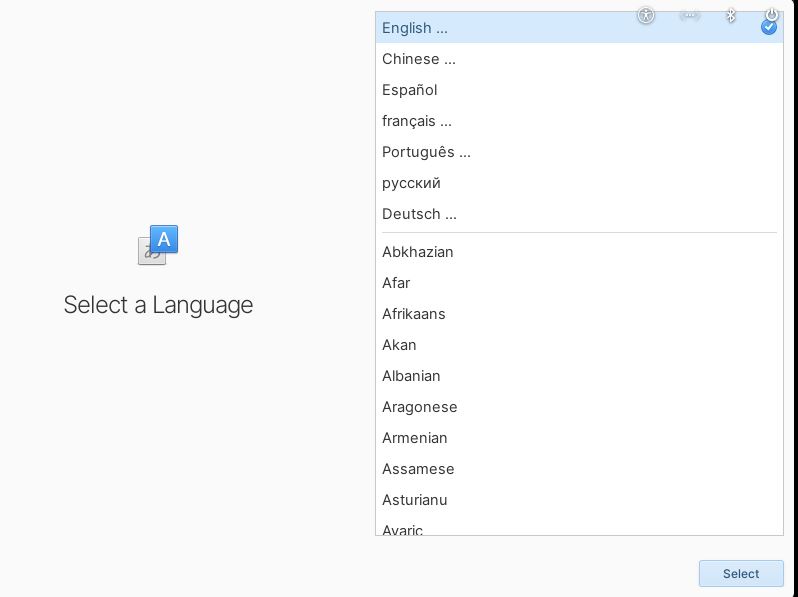
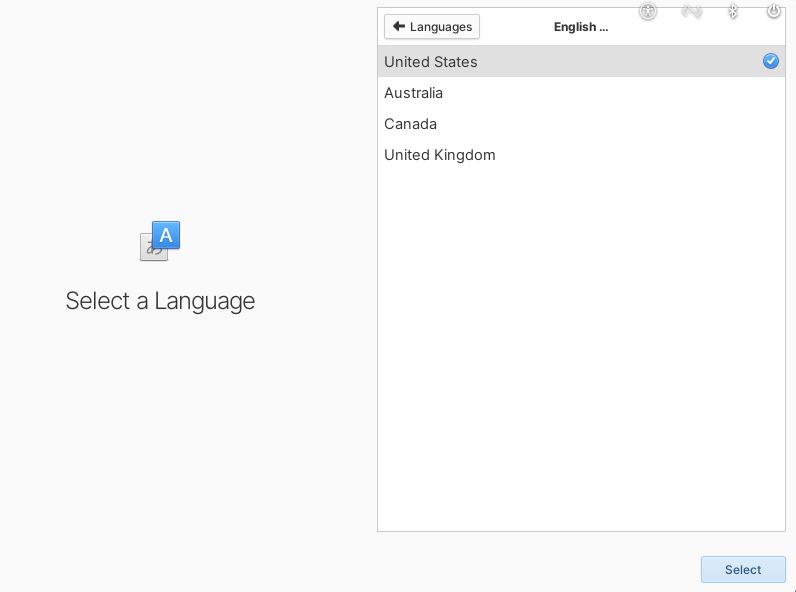
Select your preferred Language and it will automatically go on the next screen. - Next select the “Region” Settings:
- Next select the “Keyboard Language“:
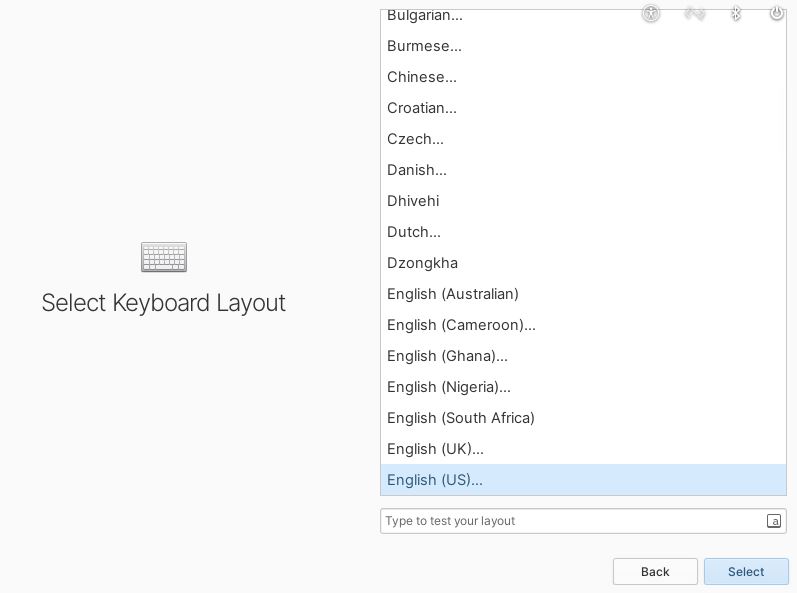
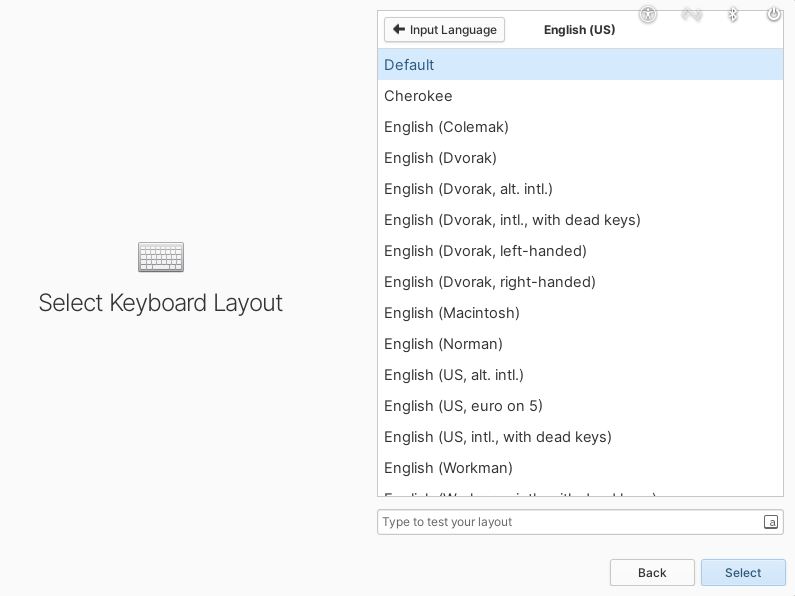
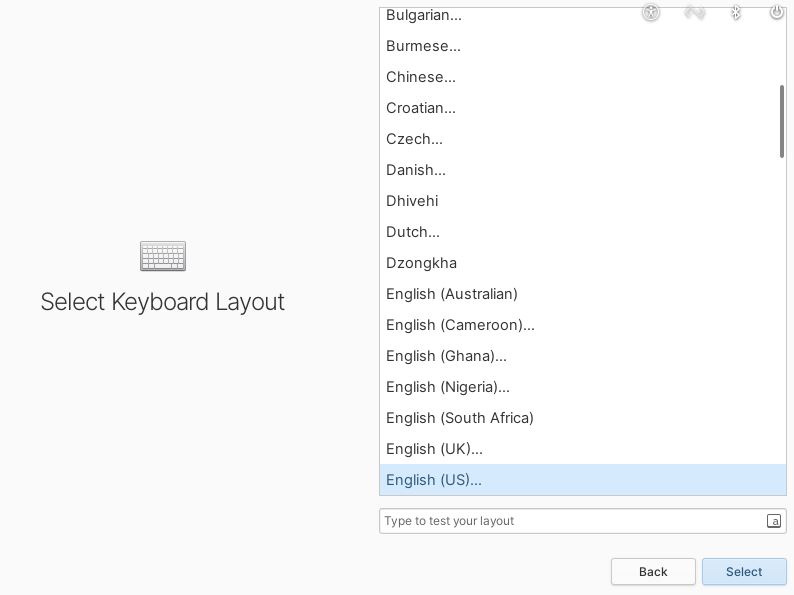
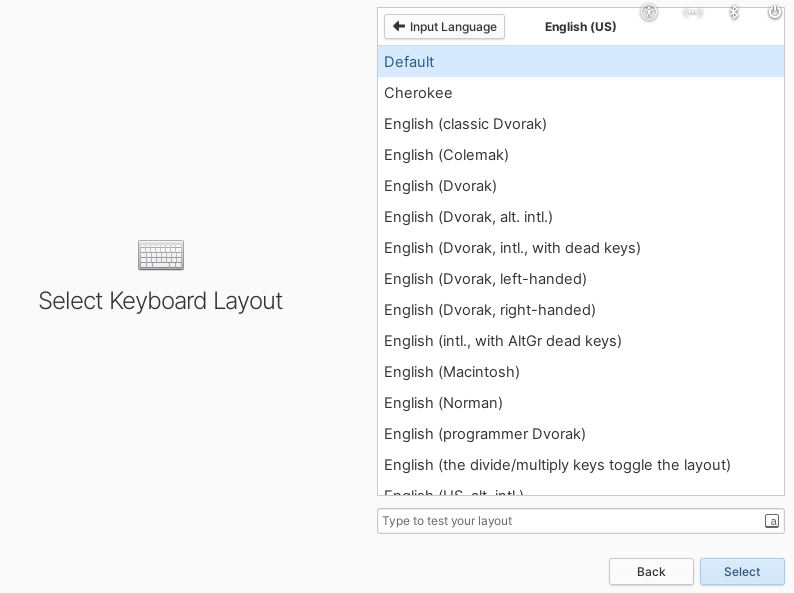
- Next select the “Keyboard Layout“:
- On clicking “Next” we get to select the type of installation we want:
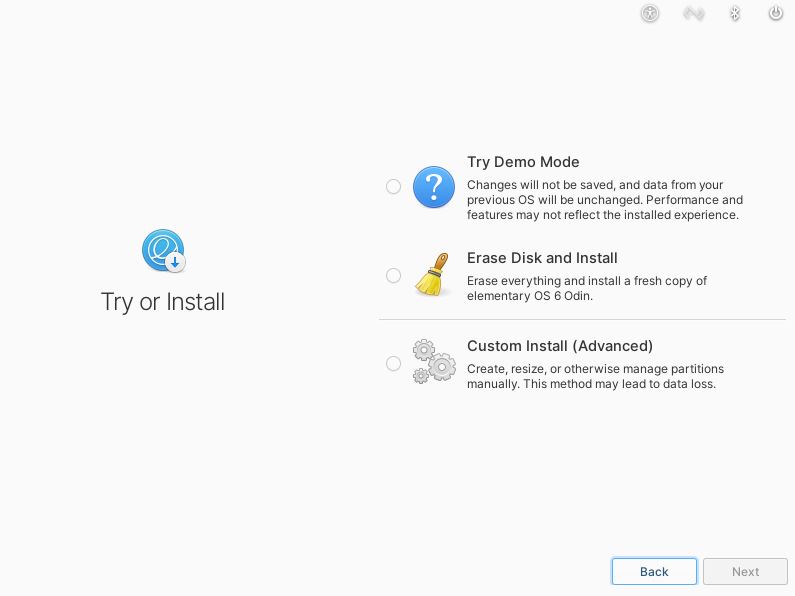
Here you get 3 options:
1. To try without permanent changes.
2. To Erase the entire disk and install.
3. To prepare a customize plan.
We will select the 3rd option, but you may very well go with any of the above options.
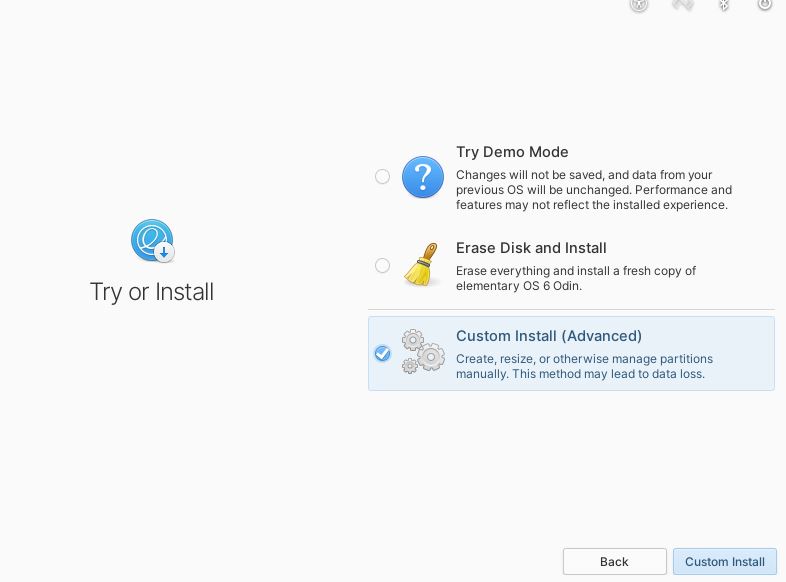
- Once you select the third option and click on “custom install” you will be greeted with the partitioning window:
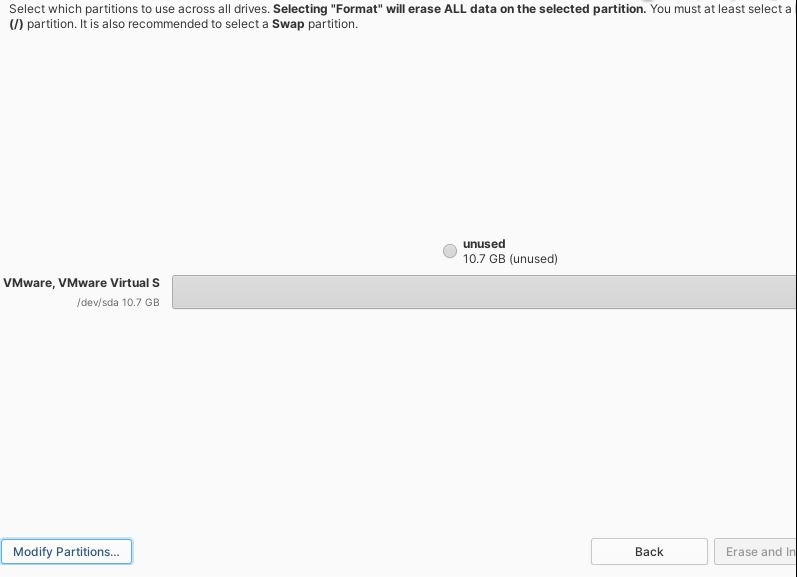
Here you can see the created partitions, but as we have not created any as of now and we have a brand new disk its greyed out, also the “erase and install” option is greyed out.
Here you need to:
1. Create Partitions.
2. Specify the Mount Point for each and set them to be formatted.
For the first you need to click on “Modify Partitions“. - Once you click on “Modify Partitions“, you can see the list of hard drives, allocated partitions and so on.
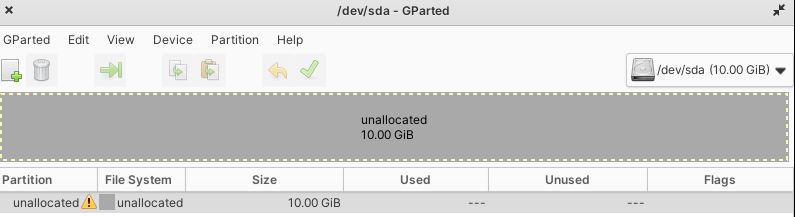
You can select the HDD where you want to create partitions and install the OS from the “top right drop down“.
You can start creating partitions by clicking on the “green +” button.
However if this is a new HDD or if you are installing on virtual system like I am, there is a chance that the HDD is not initialized and you will have to do the same. Without initializing you cannot proceed further.
In the above screenshot you can see a “yellow !” mark in the partitions section, here it means that the HDD is not initialized.
If you try to create partitions at this stage it will give you an error.
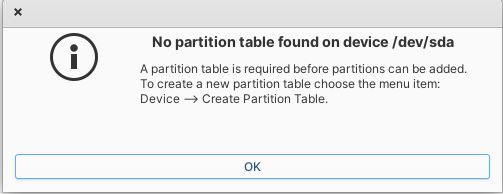
Note: If you are installing on existing physical machine or installing it as a dual boot, the disk may already be initialized and there may be data on it, so be careful during this step as if you initialize a HDD with data on it, it may lead to entire data loss. - To proceed further initialize the HDD. To do so click on “Device” and select “Create Partition Table“:
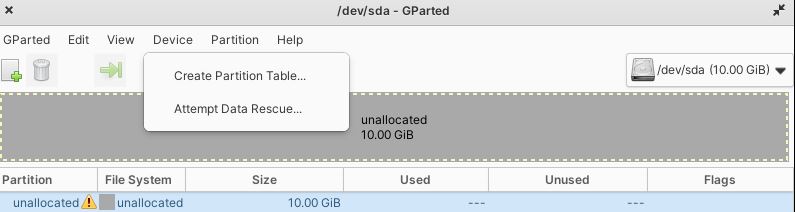
This will give you a warning that proceeding will lead to data loss and will ask you to select partition table type.
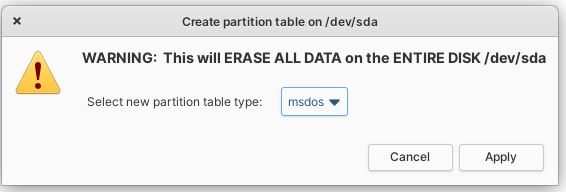
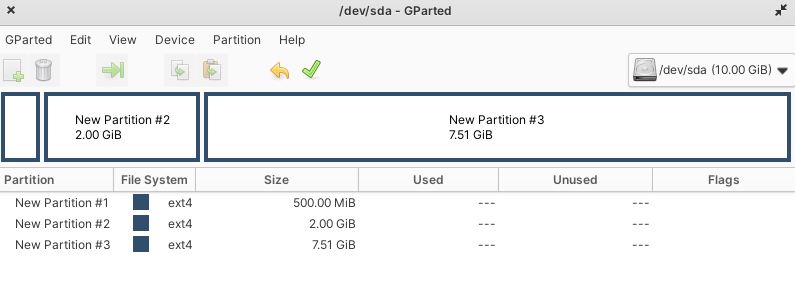
Here you may select the type of your choice and click on “Apply“. - Once the Partition table is created you can start creating Partitions by clicking on the “green add” button.

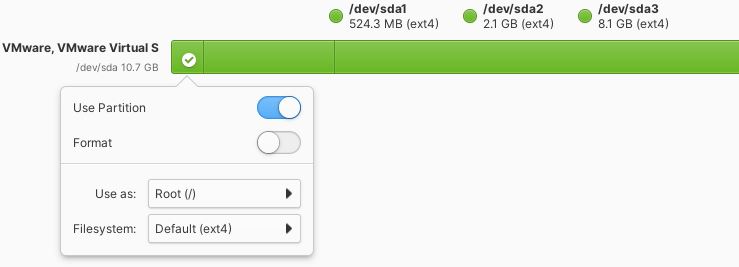
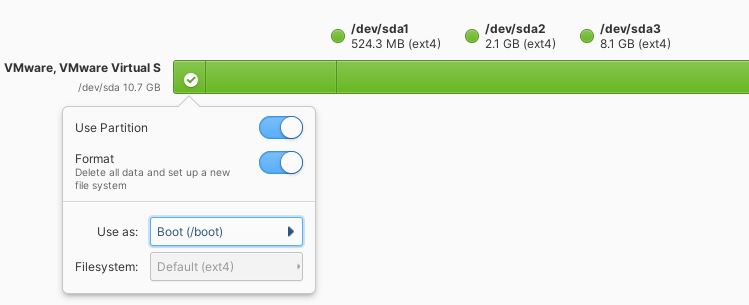
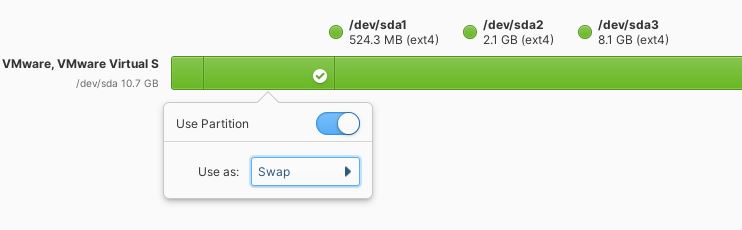
Here I have created 3 Partitions:
1. For “/boot”.
2. For “SWAP”.
3. For “/” or “root” partition.
In your system you may have to create partition for “/boot/efi” instead of “/boot“.
Also you may create more partitions as per your requirement.
Once the partitions are created, the list will look something like this:
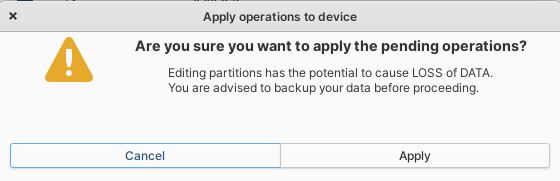
Once you are done with creating the required partitions, click on “Apply” or the “Green Tick Mark” button.
On clicking it will give you a warning of Data Loss and will ask you to backup your data.
If you are sure and OK with the changes, then click on “Apply“.
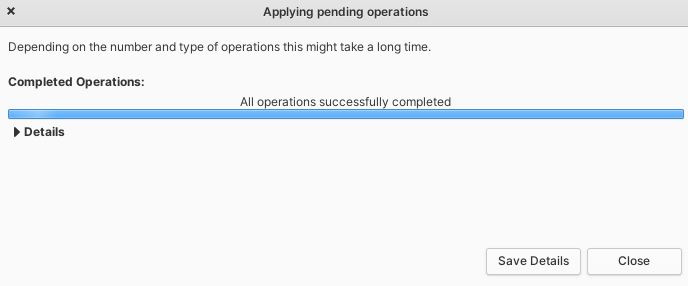
- Once you click on apply it will give a confirmation and bring you to the earlier screen, but this time you will see that its green and showing your partition layout.

- Here click on each section and Select the “mount point” for the partitions and select whether or not is has to be formatted.
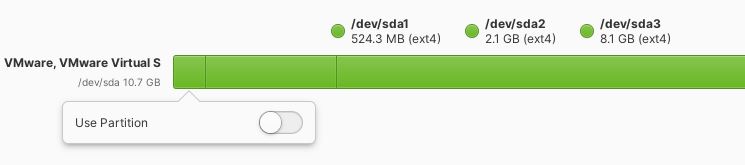
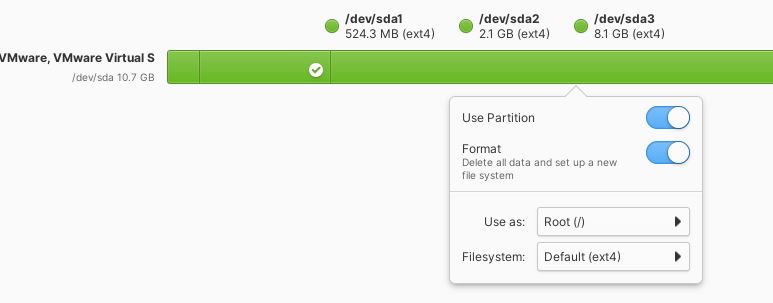
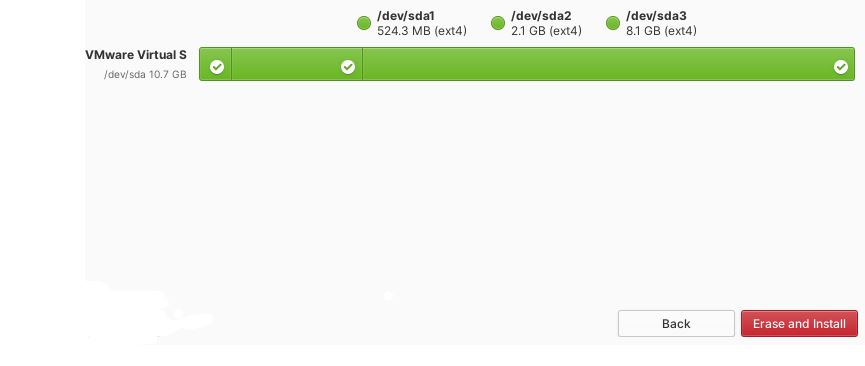
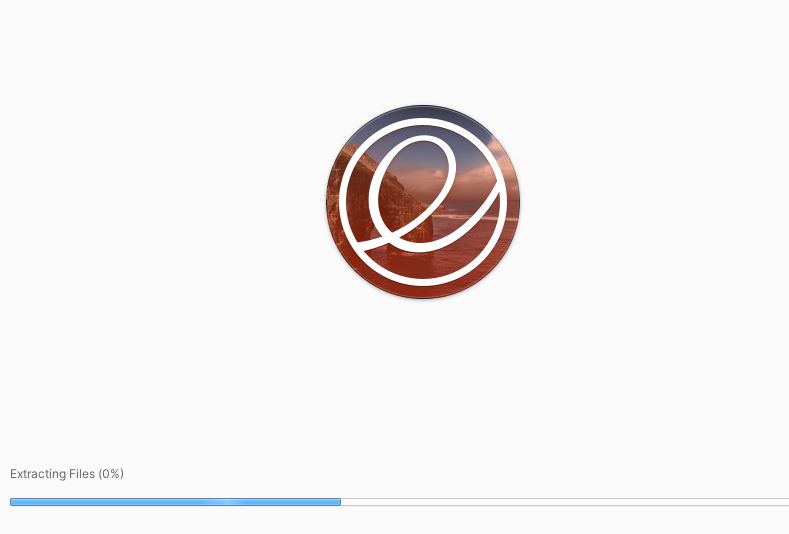
Once you are done specifying “mount points” and selecting to “format” or not, the “Erase and Install” option will be activated if you meet all the system requirements for “partitions” and “mount points“. - Once you click on “Erase and Install” the Installation will start.
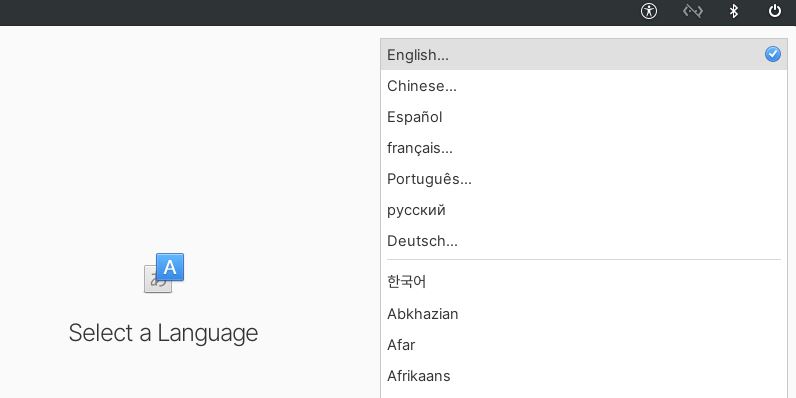
- Once the Installation is finished, the system will reboot and bring you to the first boot screen, where you will have to select the Language, Region and Keyboard Layout once again.

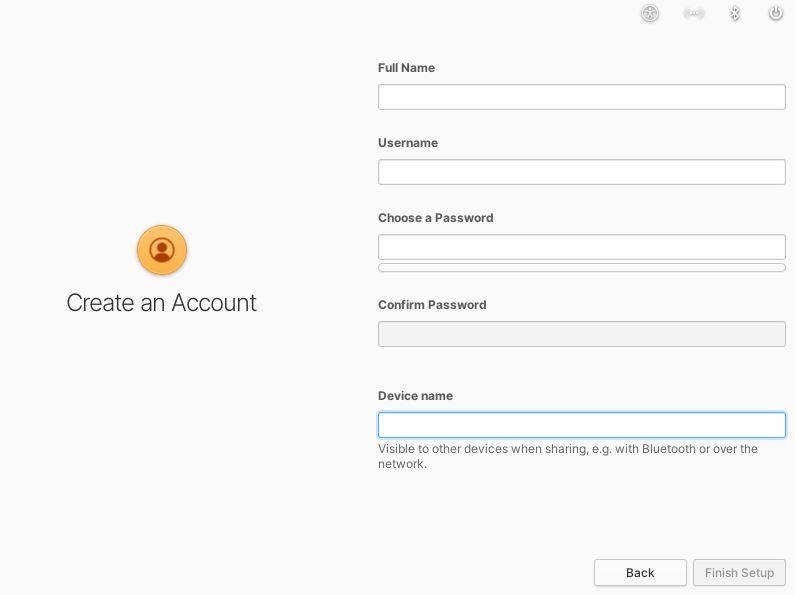
- Once you are past this you will be asked to “create user“, set its “password” and give a “device name“.
- Once you fill this up and click on “Finish Setup” you will be greeted with a “Login Screen“
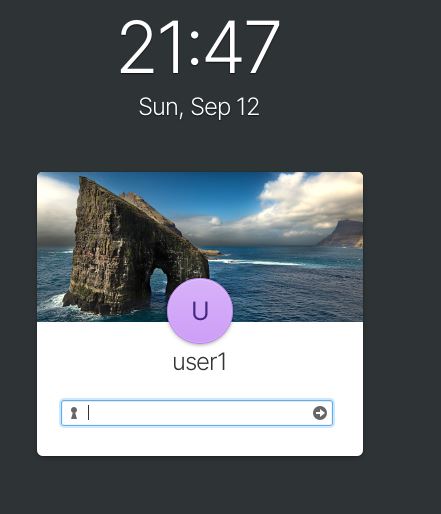
- Login with the password you had set for the user in the earlier step and you will be at the desktop.
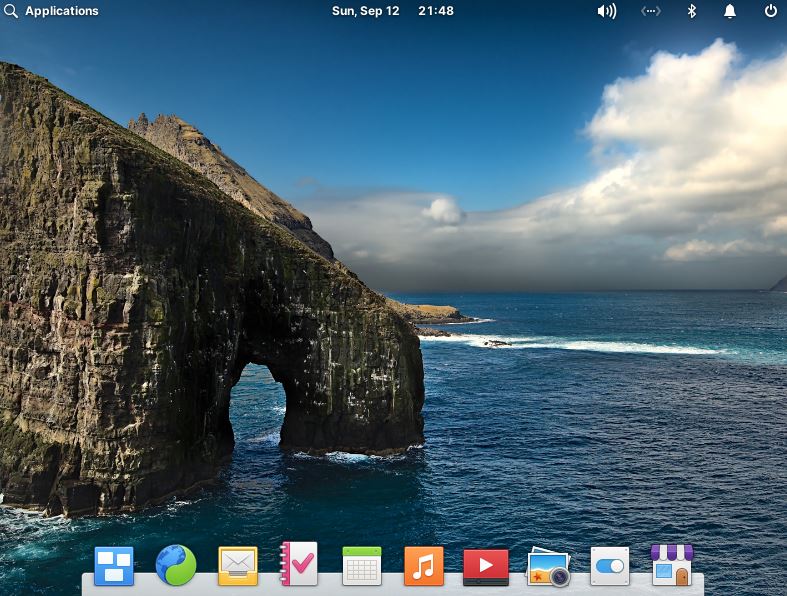
That’s it with the graphical installation, it is pretty much similar to the text based installation but with more aesthetics in it.
I have made this post as detailed as possible, but still if you have any doubts, you can watch the whole installation video below:
With time Linux has grown a lot and made its space in consumer desks with a bang.
Today as I write this, Linux is not only a server OS but also can be used as a full-fledged Desktop.
So go ahead and try it out and don’t forget to comment.
Hope you like this post, see you in the next post of blog.avoidingtech.com.