In the last post we went through some underlying basics of hardware and OS components.
This this follow-up post we will see how we can install Linux.
Linux now a days can be installed in variety of ways, but there are 3 main ways how servers are deployed.
- Installation in Text Mode. (Becoming obsolete with time)
- Installation in Graphical Mode.
- Network Installation. (Preferred in Datacentre Environments)
With time text mode installations are becoming obsolete and you don’t normally see them but I will still cover it in here for the sake of knowledge.
Text Mode or CLI installations have more or less become similar to GUI installations if you leave the aesthetics out of it.
To start with Text Mode installation boot the system with an OS CD/DVD normally downloaded from their respective websites.
Post booting you just need to follow the on screen instructions; they are pretty much in the order as given below:
- Boot from OS CD/DVD.
- If booting from a live CD/DVD, once the desktop is loaded we need to select on the install icon on the desktop.
- Select to skip or check the media of installation. (Available mostly in CentOS and Redhat systems). Some Mediums auto scan the installation media like in Ubuntu.

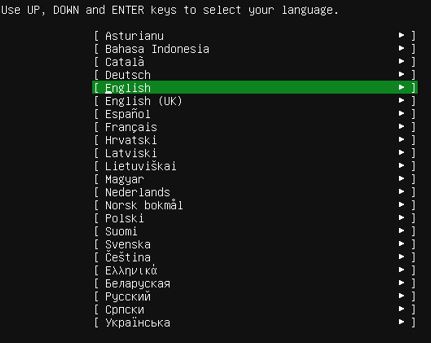
- Select Language.
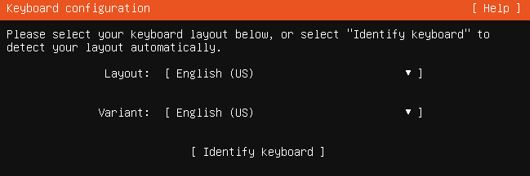
- Select Keyboard Layout.
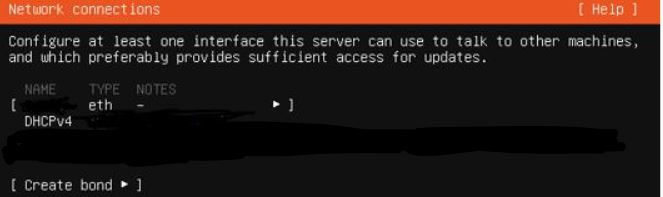
- After this you will be presented with network configuration screen, at this stage if you have DHCP configured it should automatically fetch the IP, or you can choose to configure the IP of your choice.
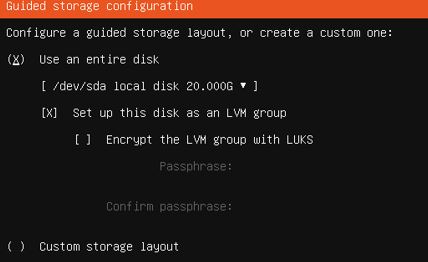
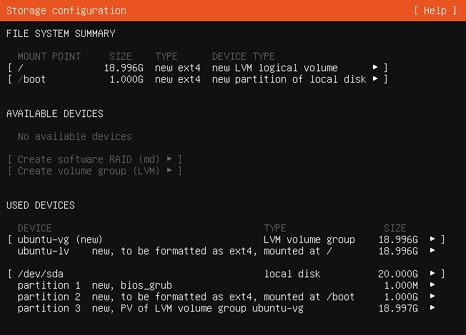
- Next is to partition the Hard Drive as per requirement.
At this stage you can select what’s already selected, however in case you need have multiple OS or you have custom need, just make sure to keep the bare minimum partitions as mentioned below:
1. “/boot“: This need to be the first partition and cannot be in LVM or in any encrypted format.
2. “SWAP“: You only need this if you have less RAM, the idea is to have swap twice the amount of RAM.
But if you have around 8GB of RAM, you can very well choose to skip it. This however depends on your specific needs.
3. “/“: Also known as the “slash” partition is the root partition which will the top of the tree for all other partitions and directories. The Minimum size of this partition depends on what OS you are installing.
It can 15 to 20 GB as an average, but depending on the data and the use this value may vary. So check the requirements of any application you are planning to install.
These 3 partitions will get you going however, there are other partitions you may choose to segregate depending on the uses and preferability. Like the usr partition, the home partition and so on. Some commonly used partitions and their uses are as below:
1. “/usr“: This partitions is used to hold the installation files, so when you install something it goes in here, user binaries and executables are also placed in this partition under specific sub directories. So if you plan to install a lot of applications, keeping a good usr size may be a good idea.
2. “/etc“: This partitions hold most of the configuration files for most of the applications.
3. “/var“: This partition is meant to be a variable partition where most of the log files are to be stored, it is used for other purposes as well. In some newer systems you may also require to keep an additional partition of “/boot/efi“, so please be sure to keep that as well.
In this case for ease of understanding I have kept the default selection.
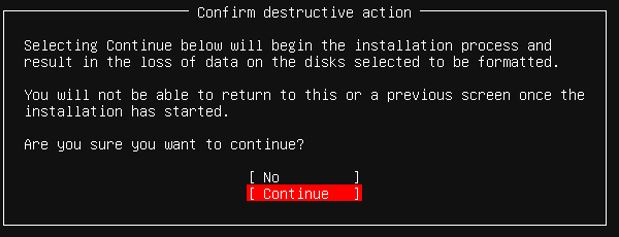
- Once you click on “next” it will give you a warning of data loss, if you are sure click continue.
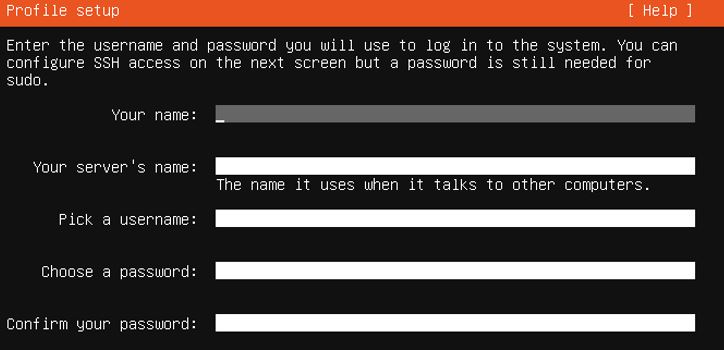
- On clicking “next” you will be presented with user creation screen, where you can enter the system name and create any new user as required.
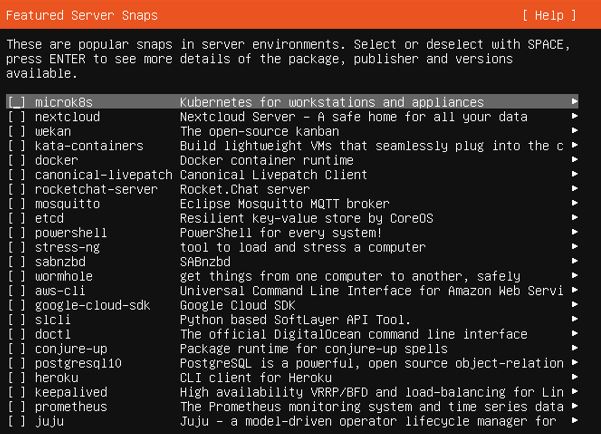
- Next you will be asked to customize the software packages. You may choose to ignore it as of now, or you now what you want you may select them at this stage, like packages for HaProxy, Web-Server and so on.
- After that in some systems especially in graphical installation you will be presented with a final list which will contain all the things you have selected, you may choose to modify any items here, like disable firewall, change time zone, etc. After you are happy with the selection can click install.
However in some systems clicking next from package selection screen will start the installation process as in this case, so be careful and know your OS.
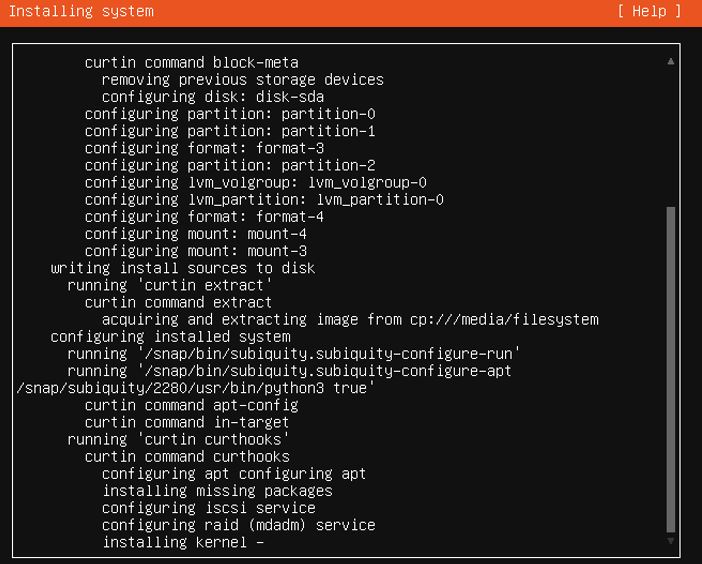
- After few minutes the installation should finish and you will be asked to reboot.
- After you reboot and remove the installation media, you will be presented with a login screen. If you did a Graphical Installation you may be greeted with a Desktop and If you did a Text Mode Installation you may be presented with a CLI login screen, but that depends on the OS and the selections you have made.
The screenshots and steps in this article are based on Ubuntu server. You may come across some other selection or the steps may shuffle while you are installing depending on the OS, the flavor and the versions. However, the base ideology in any installation will remain the same.
Hope you enjoyed this article, see you in the next post of blog.avoidingtech.com.